Look here as the article below will show the solutions to solve USB Flash Drive Not Recognized error with the help of the best data recovery tool – Bitwar Data Recovery Software!
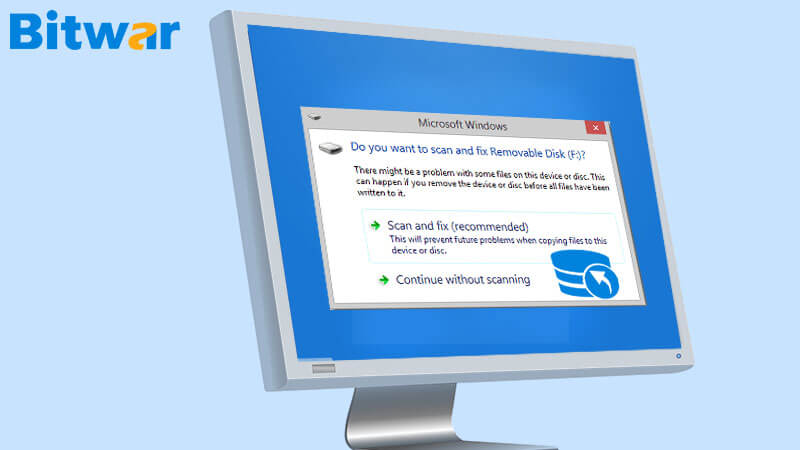
Sometimes connecting a USB drive to PC might come across the error message as “USB flash drive not recognized.” It usually happens if the USB drive is corrupted or Windows fails to recognize it. Suppose that Windows fails to recognize the USB drive, there may be a chance data loss in the USB drive.
What is the Cause?
“USB flash drive not recognized” error usually occurs when we connect the USB drive or any storage device using USB data cable to the PC. It might be either due to the corrupted USB Device or Windows not able to recognize your device. The other reason might be that the USB drive is inserted incorrectly.
If such cases happen, then there are high chances that you might lose your vital data saved on USB Device as it might get corrupted. When this error occurs, we assume that the USB Drive is dead, which can be the worst scenario. It may be due to dead USB ports, partition issue with the USB Drive or by driver issues on Windows.
Practical Solutions to Fix “USB Flash Drive not Recognized” Error on Window
We have listed some of the best methods to repair and fix “Flash Drive not recognized error.” To overcome the error on Windows, you can try the listed solutions below:
Solution 1: Check USB Ports of PC
Solution 2: Update outdated drivers in PC
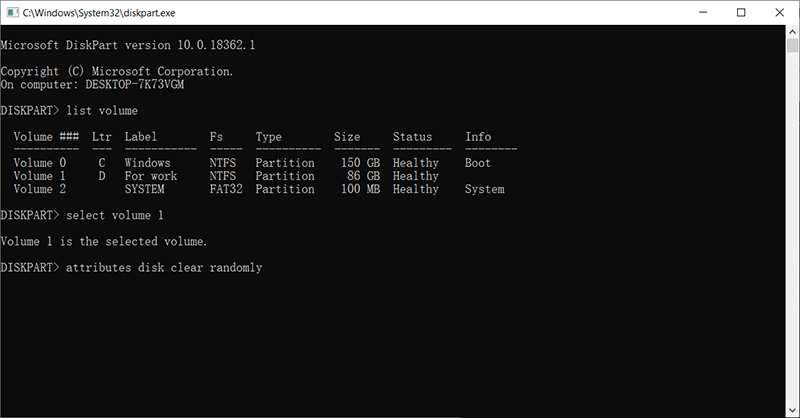
Solution 3: Format your USB Drive.
So most importantly, before applying these solutions, please make sure to recover all the essential data that is kept in the USB flash drive to prevent data loss by using a data recovery tool.
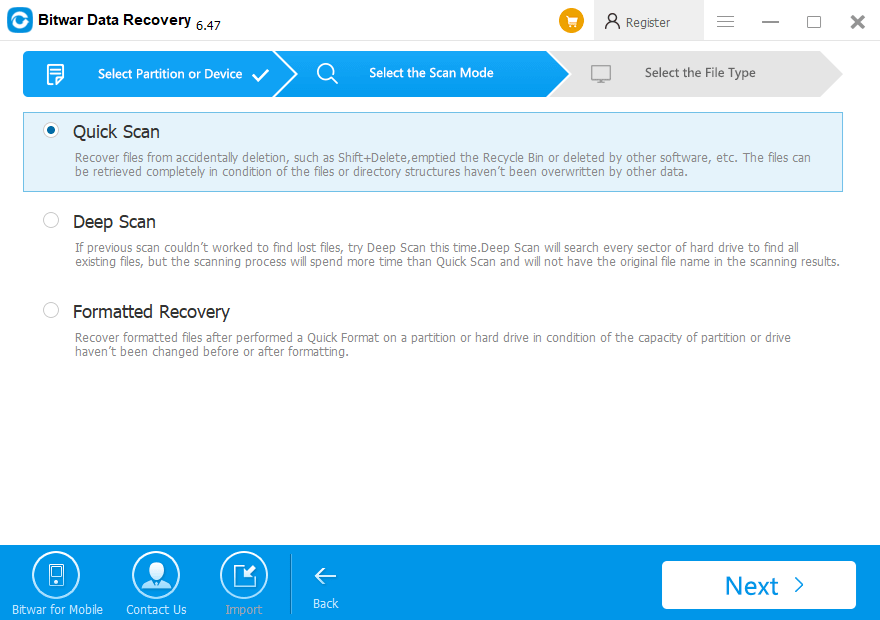
Recover Data on Flash Drive
When the USB Drive is corrupt, it shows 0 bytes of space in the USB Drive. So when the USB Drive is corrupted and is not working anymore on the PC, please restore all the essential data from the USB flash drive with Bitwar Data Recovery Software.
It supports Windows 7, 8, 10, and Mac operating systems. Besides, it is the most convenient and easy way to retrieve data from USB Drive or SD Card on Windows.
Follow the Recovery Steps below to Get Back Data in USB Flash Drive or SD Card:
Step 1. Download and install Bitwar data recovery software according to your operating system.
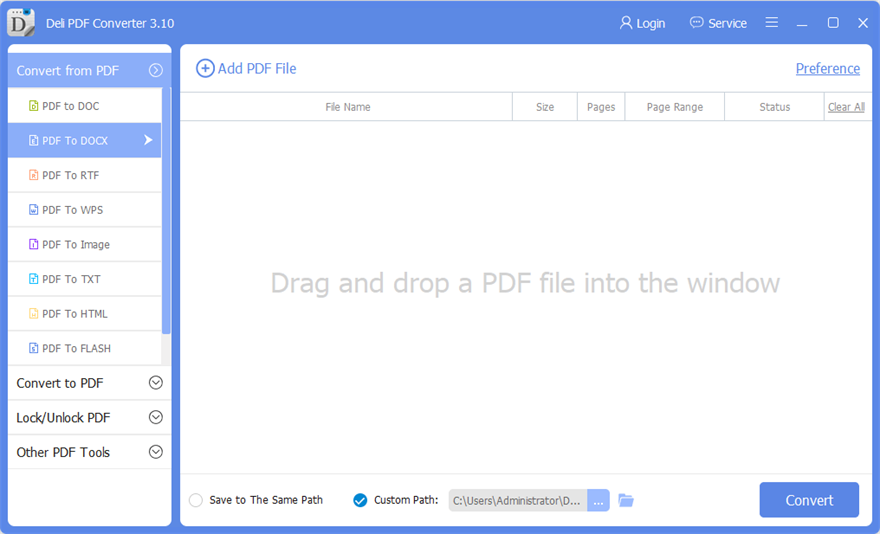
Step 2. Launch Bitwar Data Recovery software and Connect the USB Flash Drive or SD card to PC.
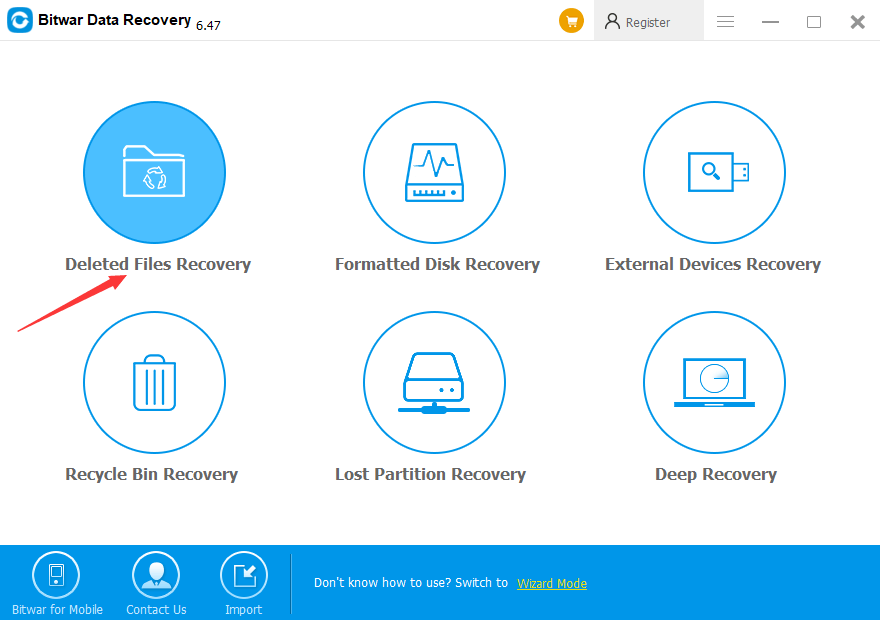
Step 3. Select the External Devices Recovery.

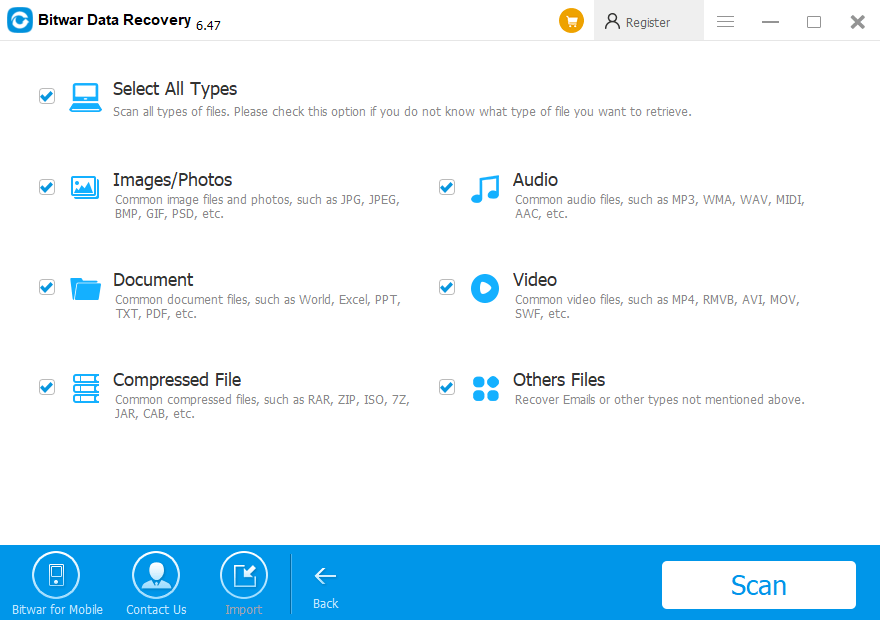
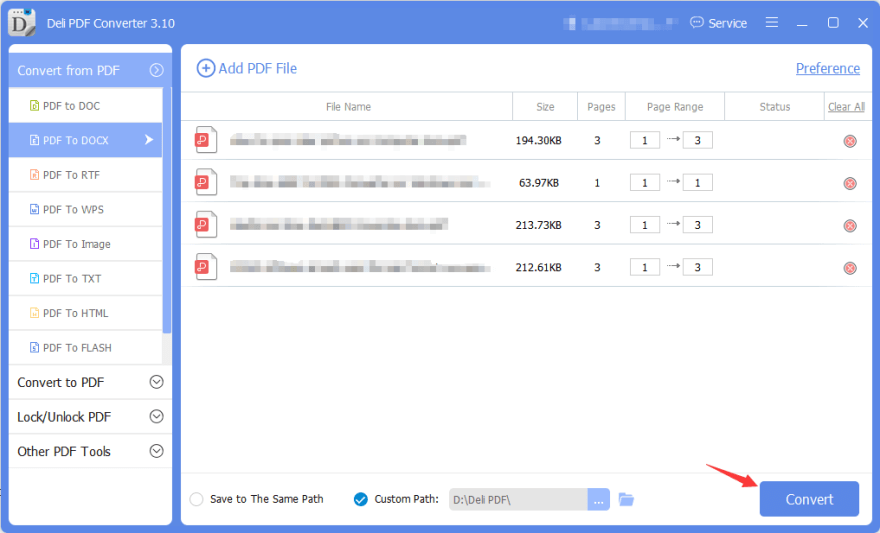
Step 4. Choose the File Type that you want to retrieve and click Next. (You can select all if you to wish to recover all kinds of data)
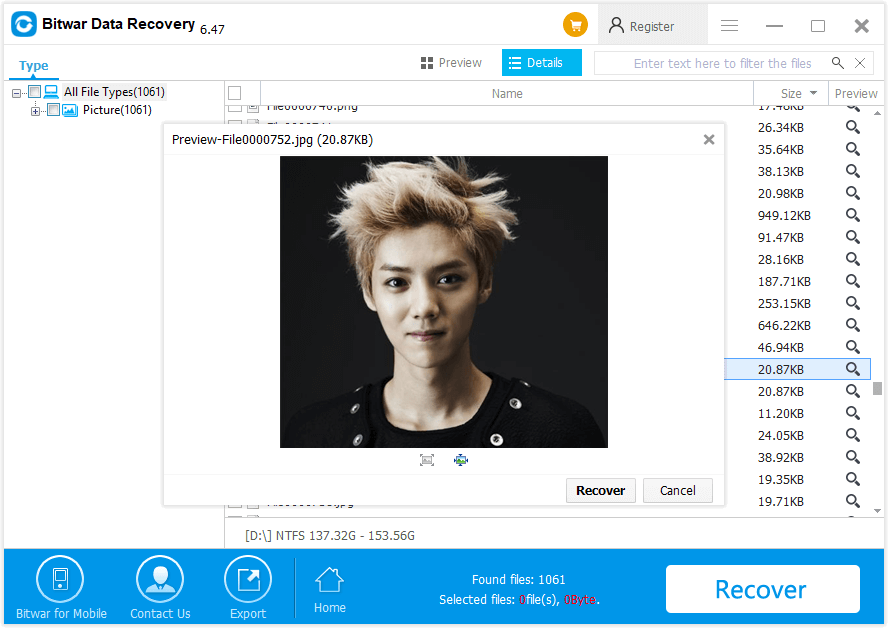
Step 5. Double-click to Preview the files and then hit Recover to start restoring the data.
KEEP IN MIND: DO NOT recover the photos in the SAME USB Drive or SD card from where you lost. This may cause permanent data loss.
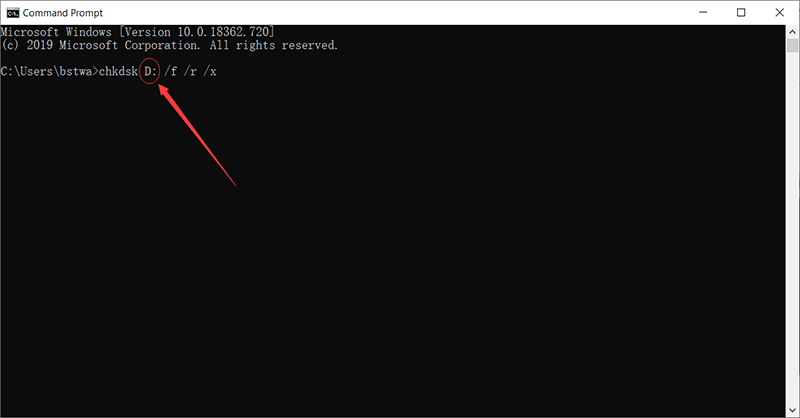
Solution 1: Check USB Port
If the USB Port is not working correctly, then there is a chance that the user might encounter the “USB Drive not recognized” error because the Windows system will not be able to recognize the USB device.
To make sure whether the USB Port is working or not, refer to the steps mentioned below:
Step 1. Start the Search menu by pressing Win + S on the keyboard and type Control Panel.
Step 2. Select the Control panel and choose the Hardware and Sound.
Step 3. In the Hardware and Sounds menu, select the Device Manager option under the Universal Serial Bus option.
Step 4. From the list, choose the USB device and click on the Uninstall option.
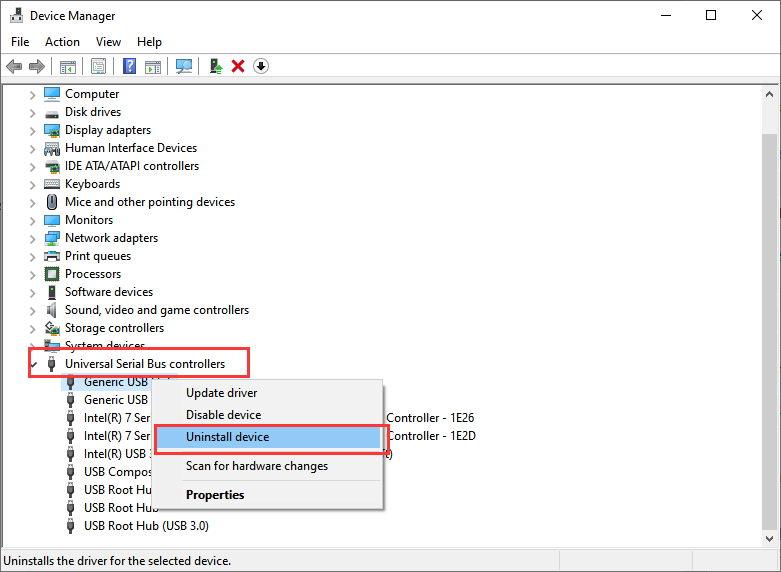
Step 5. After uninstalling, click on the Scan for Hardware Changes option.
Here, if the Windows is still not able to recognize the device, then it means that the USB Ports are not working or faulty issue.
Fix it Now!
Please refer here for more about USB data recovery.