Losing the necessary data is devastating for us. Unfortunately, nearly everyone has accidentally deleted files before on Mac OS X due to operational errors. If you delete permanently by using “Option + Command + Delete” hotkeys or empty the Trash Bin, the file will disappear in front of us. The Mac OS has no undeleted feature. This article shows you how to recover deleted files from Mac.
If you have just deleted a document, the chances are excellent that you’ll get it back even if you’re very casual about everything. First of all, you should stop using the partition on your Mac as soon as possible. If your computer is downloading, editing or copying anything onto the partition, stop that process. Then Download and install Mac Data Recovery software on another partition. Emphasize again, please do not take any unnecessary actions either on the partition which you want to recover. The sooner you find data recovery solutions, the more deleted files you can get back.
Fortunately, Bitwar Data Recovery for Mac can recover deleted files from Mac OS X. Whether you deleted these files, emptied trash bin, lost them due to the virus, or due to formatting, you can still have them back by using this software. You can recover audios, videos, pictures, compressed files, and documents. Moreover, this program lets you preview files that have been scanned.
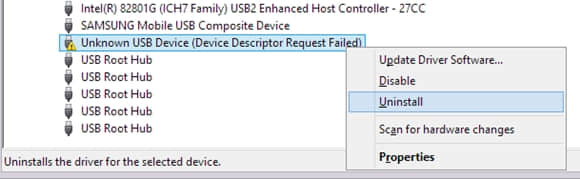
It supports data recovery from Trash Bin, Hard Drive, and all external devices, such as Memory Card, USB Drives, Pen Drives, Thumb Drives, Digital Camera, Camcorder, etc.
Install the Bitwar Data Recovery for Mac?
You can download Bitwar Data Recovery for Mac and install it on your Mac OS. The software is compatible with OS X 10.11 and later.
Tips: For the latest macOS 10.13 (High Sierra) system requirements, Mac users are not allowed access to system disk from apps. If you want to recover data from the system disk, please disable the system feature “System Integrity Protection (SIP),” see the guide on How to Disable System Integrity Protection (SIP) in macOS High Sierra (macOS 10.13)? (https://www.bitwar.net/howto/windows/79.html)
Step1: Select the Partition or Device
Launch Bitwar Data Recovery and select the location where your data were lost and then click “Next.” If you want to recover deleted files from external devices, please connect it to your computer and select it on these steps.

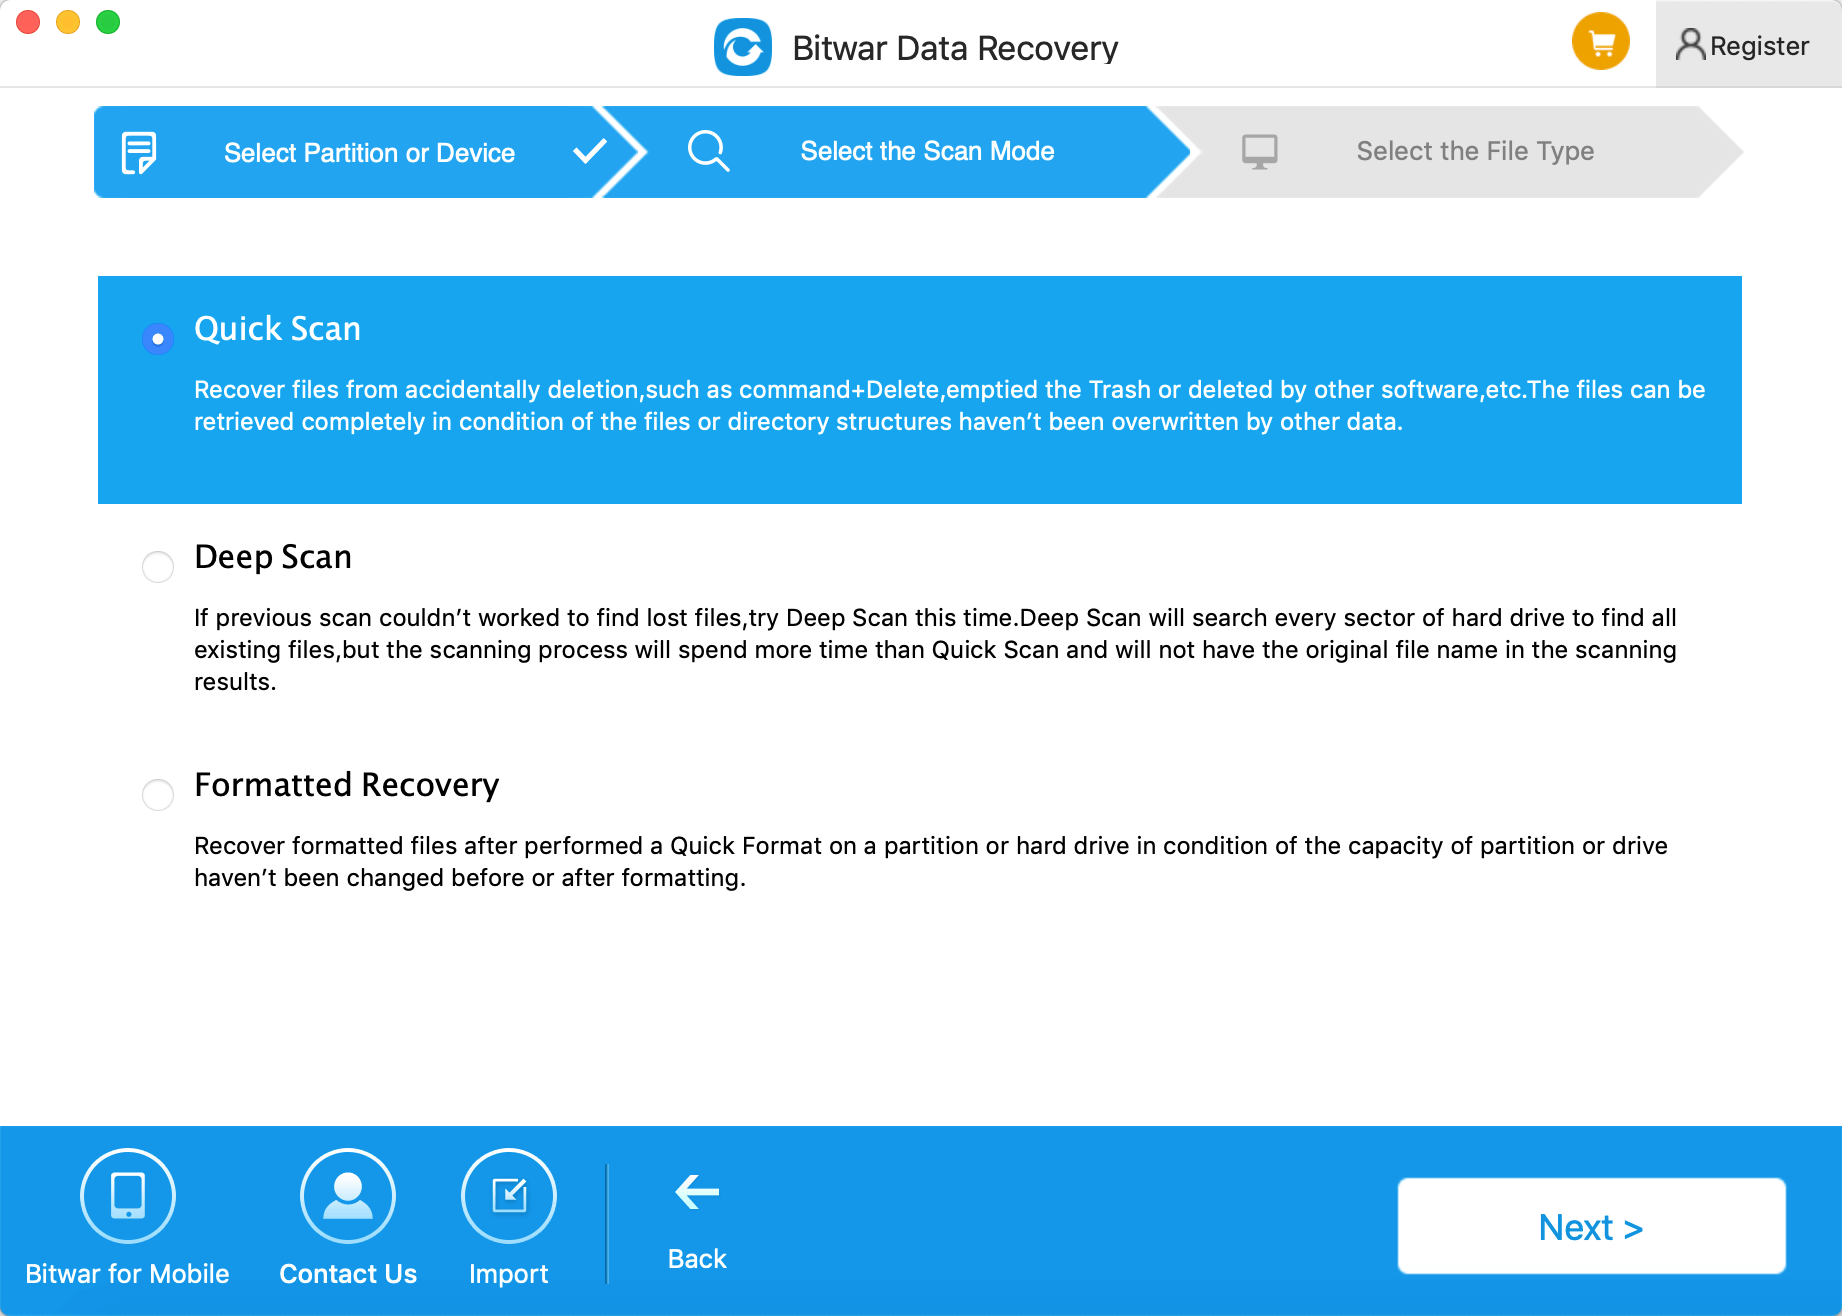
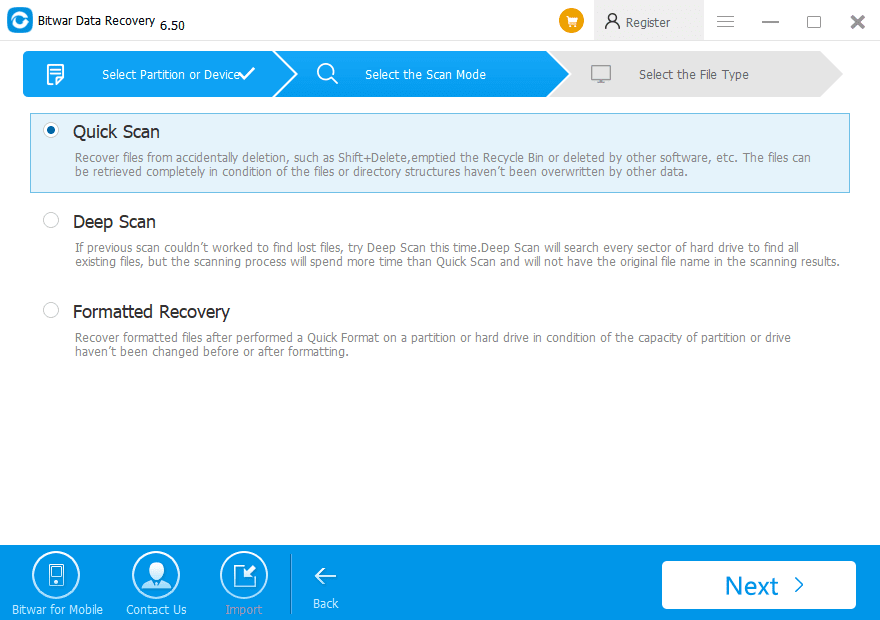
Step 2: Select the Scan Mode
You can choose a scan mode based on data loss reasons. Then click “Next.” If you want to recover the deleted file on the partition of Mac OS X, so you should choose “Quick Scan.“

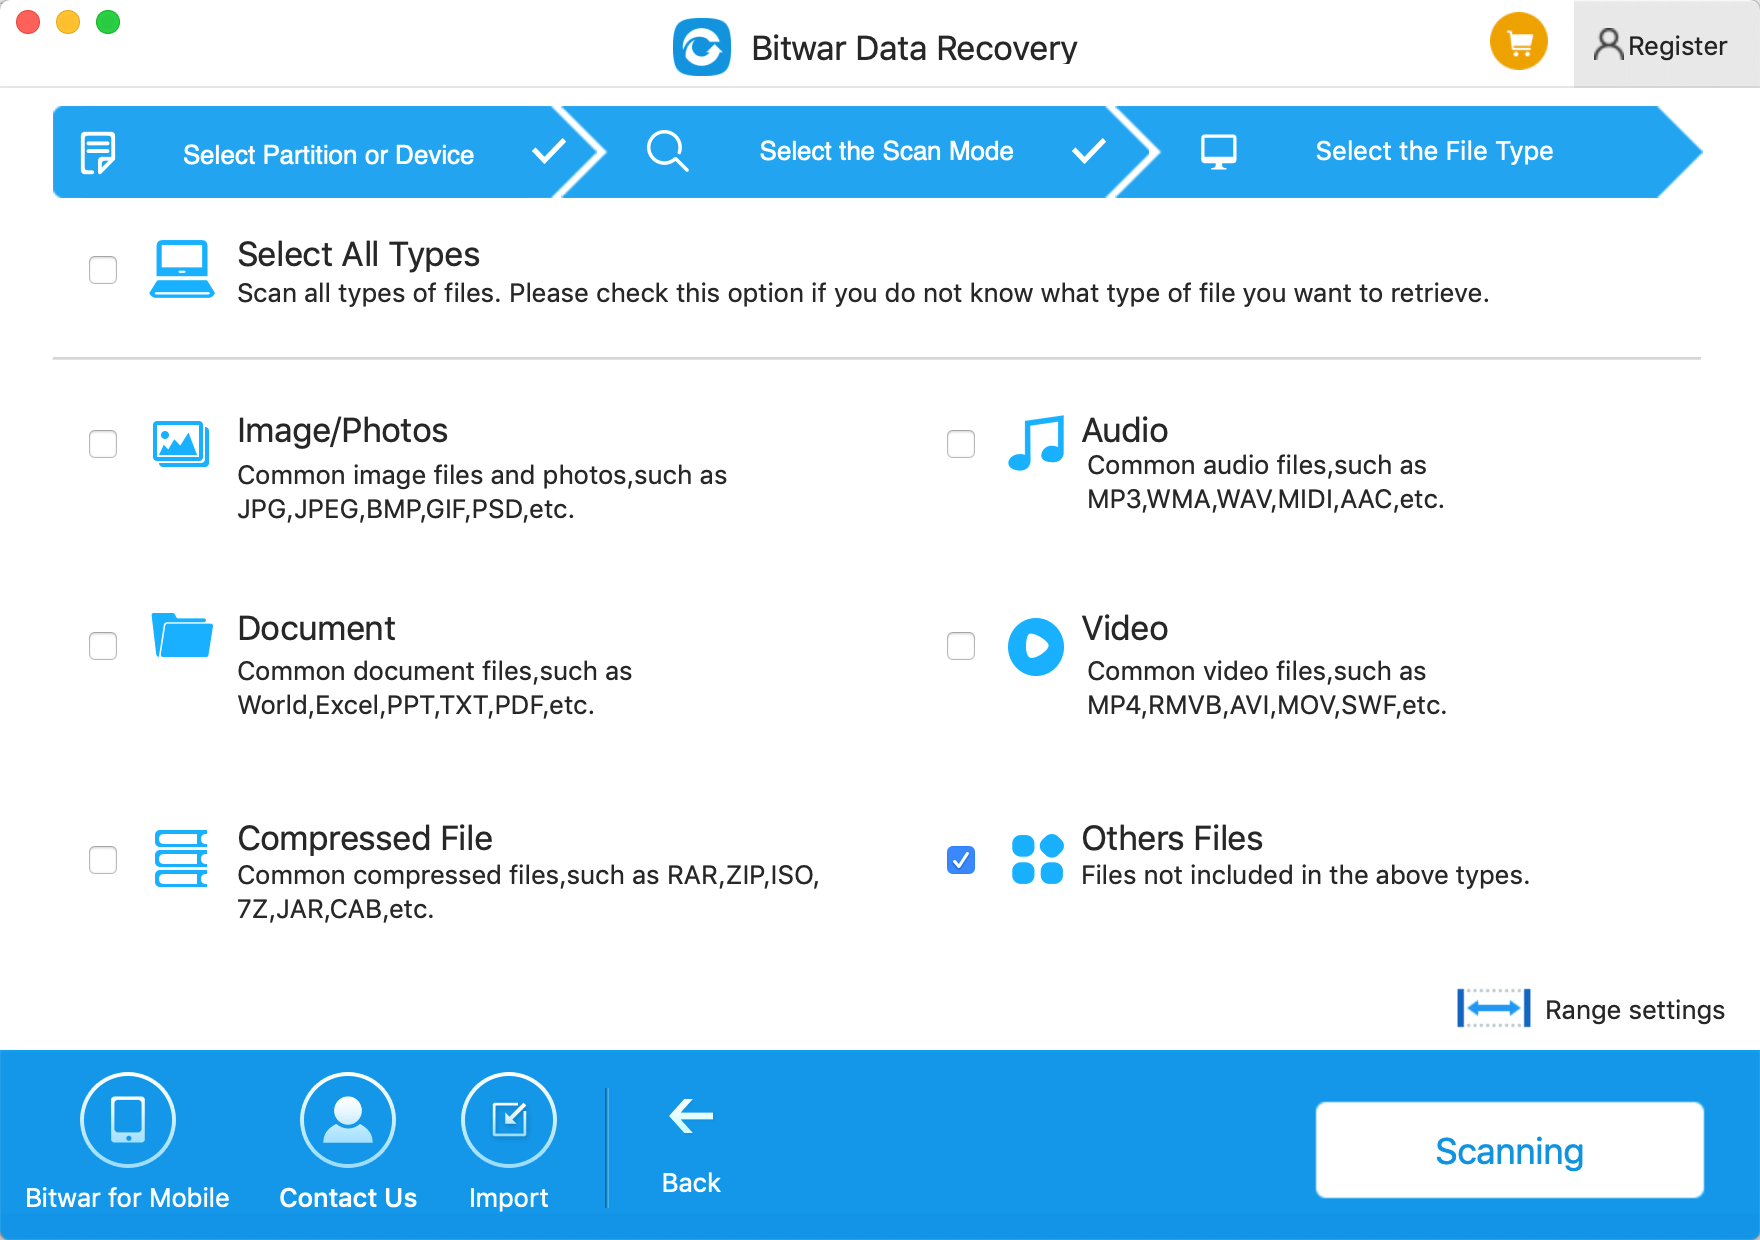
Step 3: Select the file type
Choose the file types which you want the files to be recovered and click “Next.”

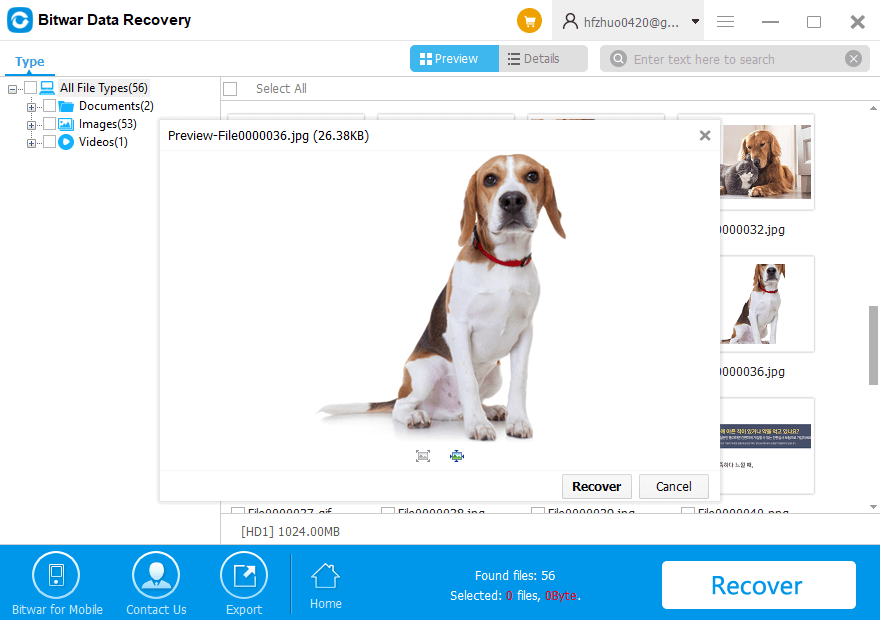
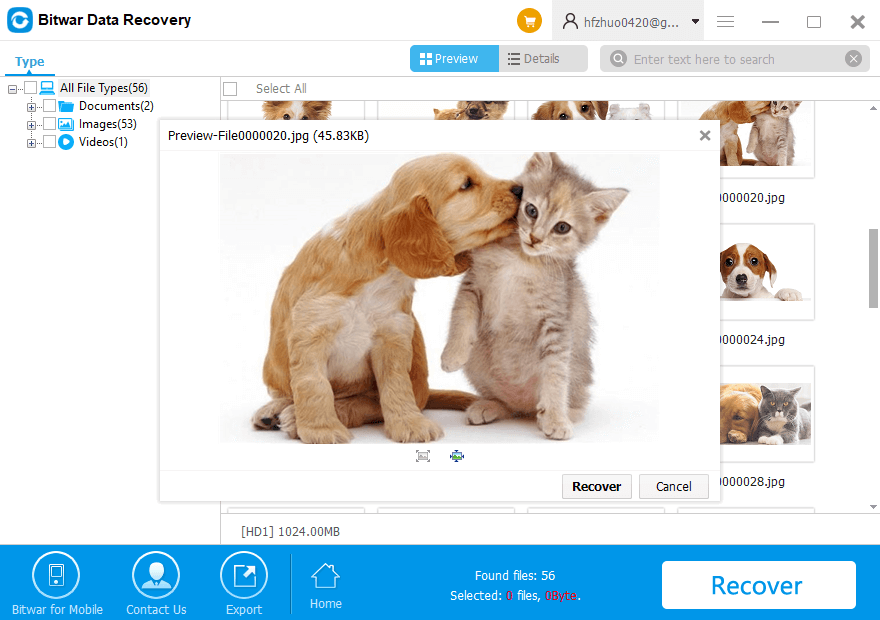
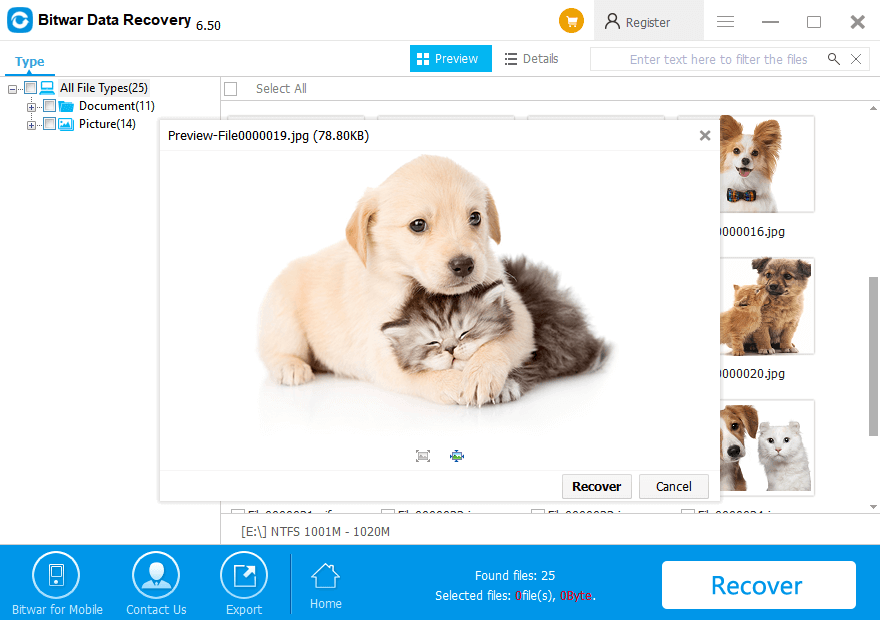
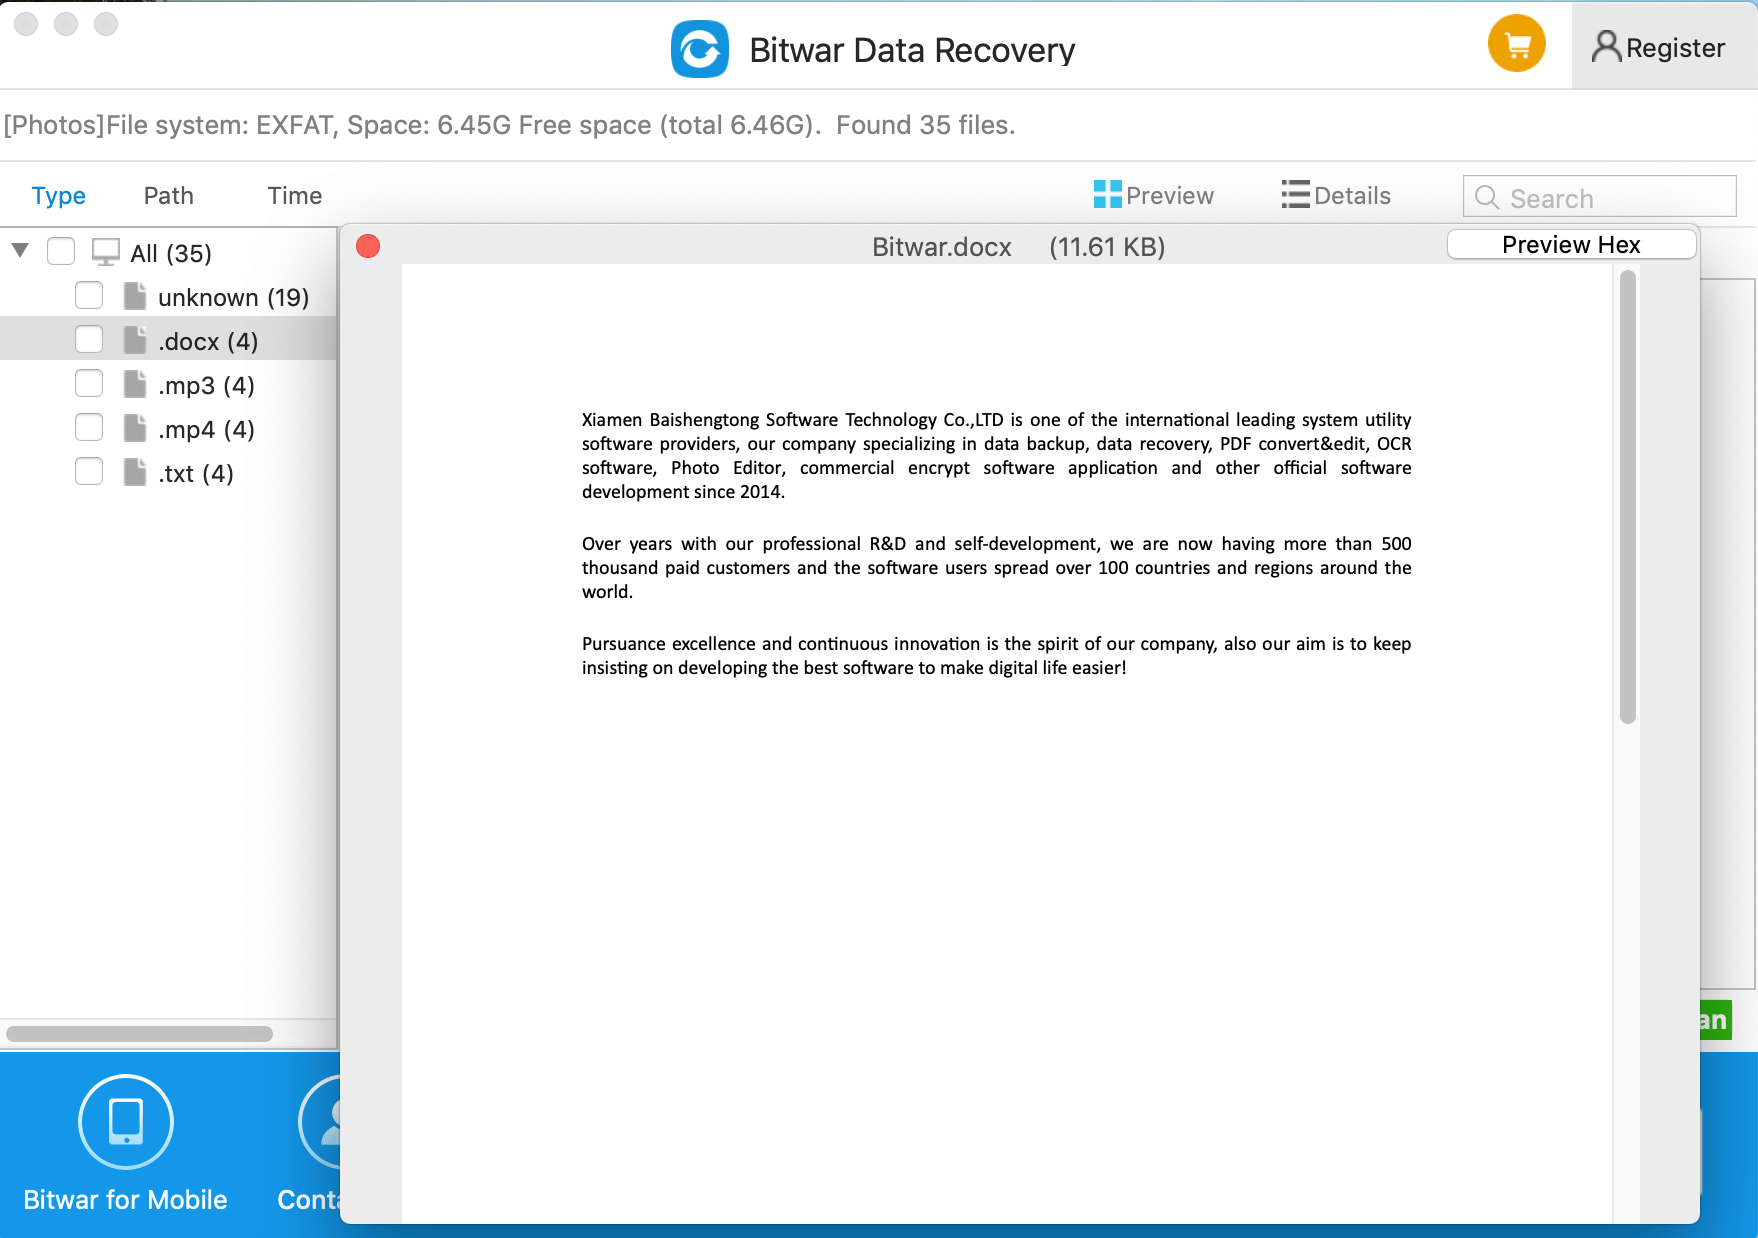
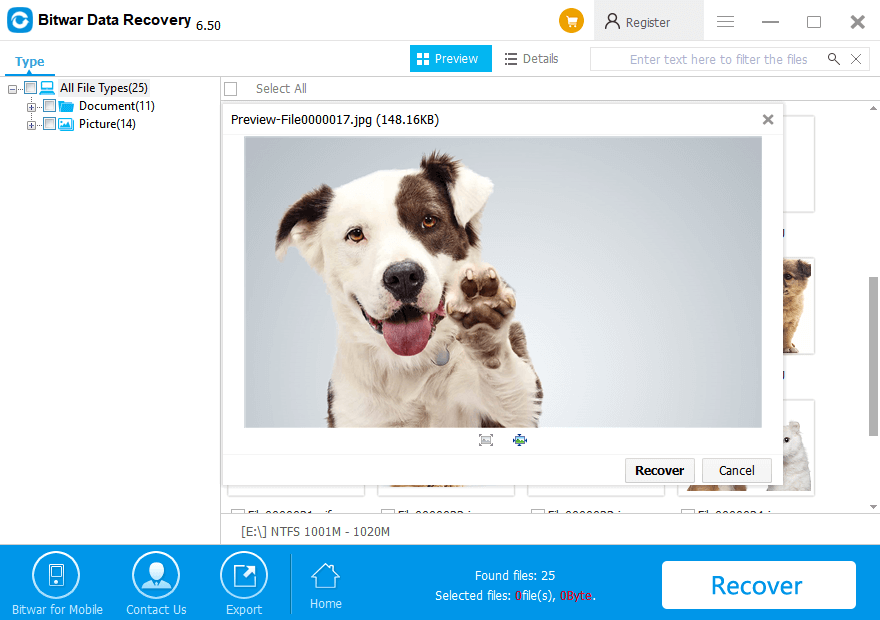
Step 4: Preview, recover and save files
Bitwar Data Recovery supports to preview after scanning. And you can also preview them one by one. Then select those you want and press the recover button to have them saved to a safe path of Mac.
Tips: Please DO NOT save the data into the partition or device where you deleted it.

Try It Out!
Please refer here for more about Mac data recovery.


